Build an insurance verification app in 30 minutes with Stedi and a coding agent
Guide
Coding agents, like Claude Code or Codex, are how many people develop applications now. You tell the agent what you want to build and point it at some related docs. Minutes later, you have a working app.
Try that with most healthcare clearinghouses, and you’re in for a world of pain.
Stedi gives agents everything they need, including AI-legible docs, test API keys, and test workflows that mirror production. You can access it all using a free account.
This guide shows how to build an insurance verification app in less than 30 minutes using Stedi's JSON Eligibility API and a coding agent. You'll get step-by-step instructions, with prompts for your agent at each step.
What you need
To get started, all you need is a terminal app with Claude Code, Codex, or your preferred coding agent installed.
Step 1. Create a Stedi account
Signing up takes less than two minutes:
Go to stedi.com/create-account.
Select Create a healthcare clearinghouse account.
Fill out the form. Select a free account.
Step 2. Create a test API key
We recommend you use a test API key during development. Test API keys use the same endpoint as production, but they only work with predefined mock requests.
Mock requests return realistic responses (active coverage, copays, deductibles) with no risk of sending real patient data to a payer. When you’re ready to go live, just swap the test key for a production one.
To create a test API key:
Log in to your Stedi account.
Click your account name at the top right of the screen and select API Keys.
Click Generate new API Key.
Enter a name for your API key. For example,
eligibility-test.Select Test mode.
Click Generate and copy the key.
Stedi only shows the key once. Paste it into a password manager or save it somewhere safe before closing the modal.
Step 3. Set up your project folder
In your terminal, create an empty folder for the app:
Step 4. Build the backend
Next, you’ll create a Next.js app that calls Stedi’s JSON Eligibility API.
Start your coding agent in the project folder and give it the following prompt:
Step 5. Add your API key
Your agent will open .env.local in a text editor. In the file, replace your-key-here with the Stedi test API key you saved in Step 2, then save the file.
Step 6. Build the UI
So far, your app can make API calls, but it doesn’t have a UI yet. To create it, give your coding agent this prompt:
Step 7. Test out your app
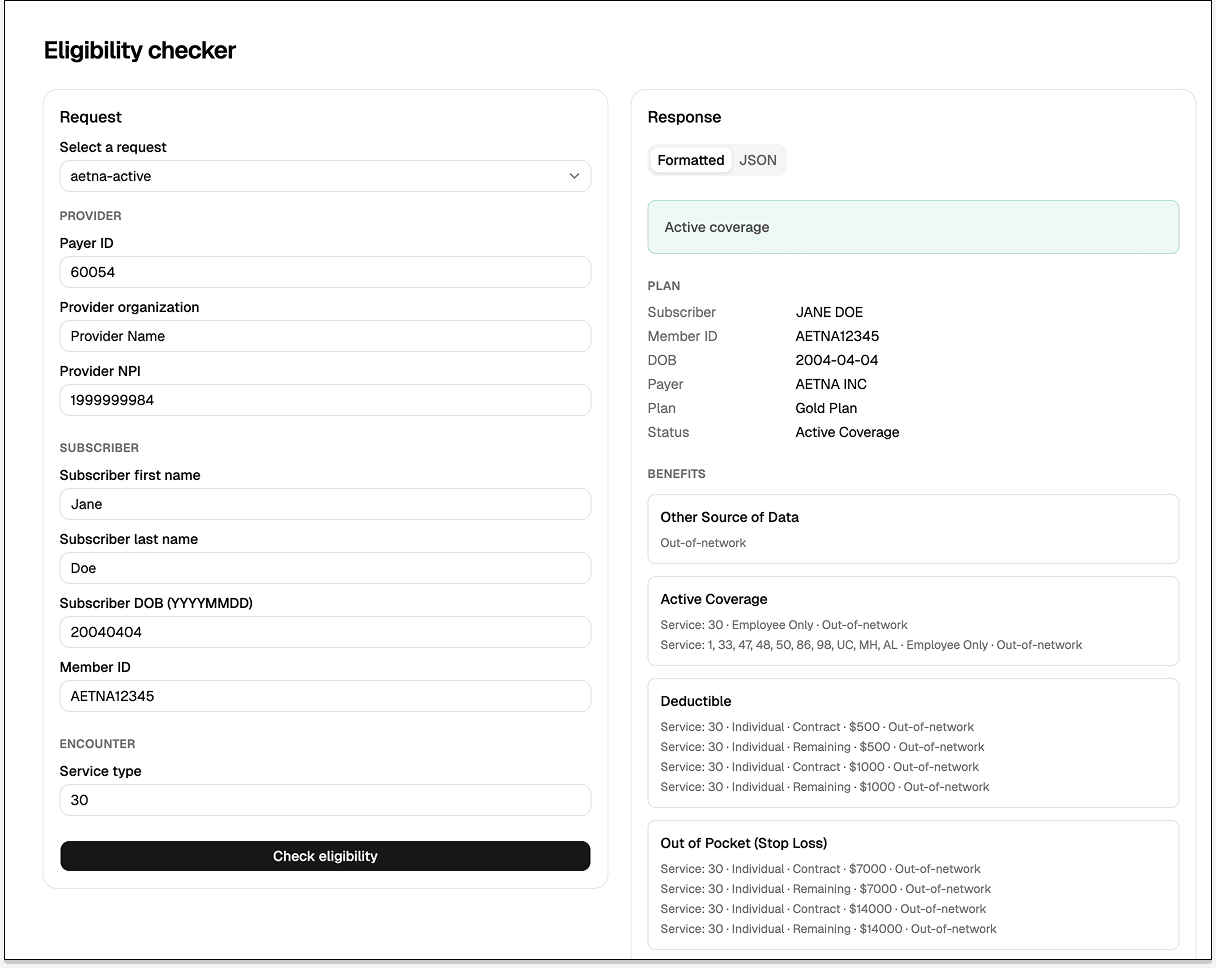
Open http://localhost:3000 in your web browser to see the app. Select a mock request and run the eligibility check to see live results from Stedi’s API.
This is how our app looked. Your app may look slightly different.
Keep in mind that the test API key only works with the predefined mock requests. You can’t use it with other request values.
Next steps: Move to production
When you're ready to run real eligibility checks, you'll need to take a few extra steps:
Decide which Eligibility API request fields you want to support, and have your coding agent remove the Select a request dropdown and mock requests.
Swap the test API key in
.env.localfor a production API key. If you’re on a free account, you’ll need to upgrade to a production account first.Update the app to use Stedi's Payers API to find and use payer IDs that support eligibility checks.
Refine the UI to suit your use case.
Deploy to Vercel or your preferred hosting platform. For Vercel, add your production API key as the
STEDI_API_KEYvariable in your project's environment variables.
For more tips, see How to use Stedi with a coding agent.
Share
Start free with a sandbox account. Upgrade to production when you're ready. There are no monthly minimums or setup fees. You only pay for the transactions you use. See our pricing.
