Hello, Buckets
Products
Stedi Buckets is worth getting excited about, or at least so I’m told. We launched it together with Stedi SFTP and I can’t help but feel that SFTP stole the show that day. Receive documents from customers without hassle? That is solving a business problem. But storing those documents? Sure, it’s necessary, but there’s not a lot for me to do with documents that just sit there. Unless you give me programmatic access. Then I can do with them whatever I want and that gets my coder’s heart pumping.
Setting a challenge
Stedi SFTP and Stedi Buckets are related and I can access both of them using the SDK. I need a starting point though, so I’ll set myself a challenge. I want to generate a report that tells me how many files each of my customers has sent me. I also want to know how many of those files contain EDI. What I’m looking for is something like this.
Let me stop pretending that I’m making this up as I go: I already finished the challenge. It turned out easier than I thought. There, I spoiled the ending, so you might as well stop reading. Actually, that’s not a bad idea. If you feel you can code this yourself, then open the Stedi SFTP SDK reference and the Stedi Buckets SDK reference and go for it.
If you want a little more help, continue reading Programming with the SDK.
If you want a lot more help, jump to Walkthrough.
Programming with the SDK
Assuming that installing Node.js is something you’ve done already, you can get started with the SDK by running the following commands in your project directory.
Since I’ve already finished the challenge, I know exactly which operations I’m going to need.
List all SFTP users.
List all objects in a bucket.
Download the contents of an object.
List all SFTP users
List all objects in a bucket
Download the contents of an object
Paging
The list-operations only return the first page of results. Let’s not settle for that.
Walkthrough
The devil is in the details. The code above shows you what you need to program with the SDK, but it doesn’t explain anything. Allow me to rectify.
From time to time, I’ll do something on the command line. To follow along, you need to run a Linux shell, the Mac terminal, or Windows Subsystem for Linux.
Installing Node.js
Install Node.js.
The Stedi SDK is written for JavaScript. It also works with languages that compile to JavaScript—like TypeScript, CoffeeScript, and Haxe—but it requires a JavaScript environment. In practice, that means Node.js.
How you get up and running with Node.js depends on your operating system. I’m not going to cover all the options here.
Creating a project
Create a folder for your project.
Create a file called
main.js.
Open the file in your preferred code editor.
Paste the following code into the file.
Run the code.
This should output the following:
Creating a Stedi-account
Go to the sign-up page and create a free Stedi-account.
If you already have Stedi-account, you can use that one. If you’re already using Stedi SFTP, then your results might look a little different, but it will all still work.
Create an API-key
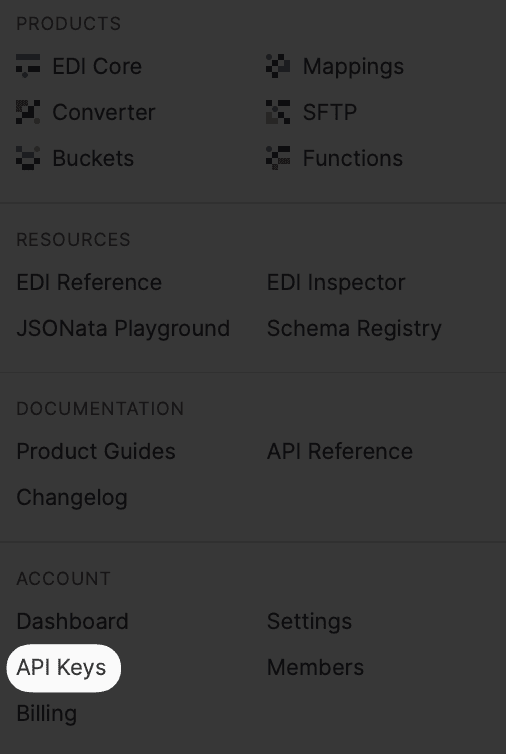
Sign in to the Stedi Dashboard.
Open the menu on the top left.
Under Account, click API Keys.
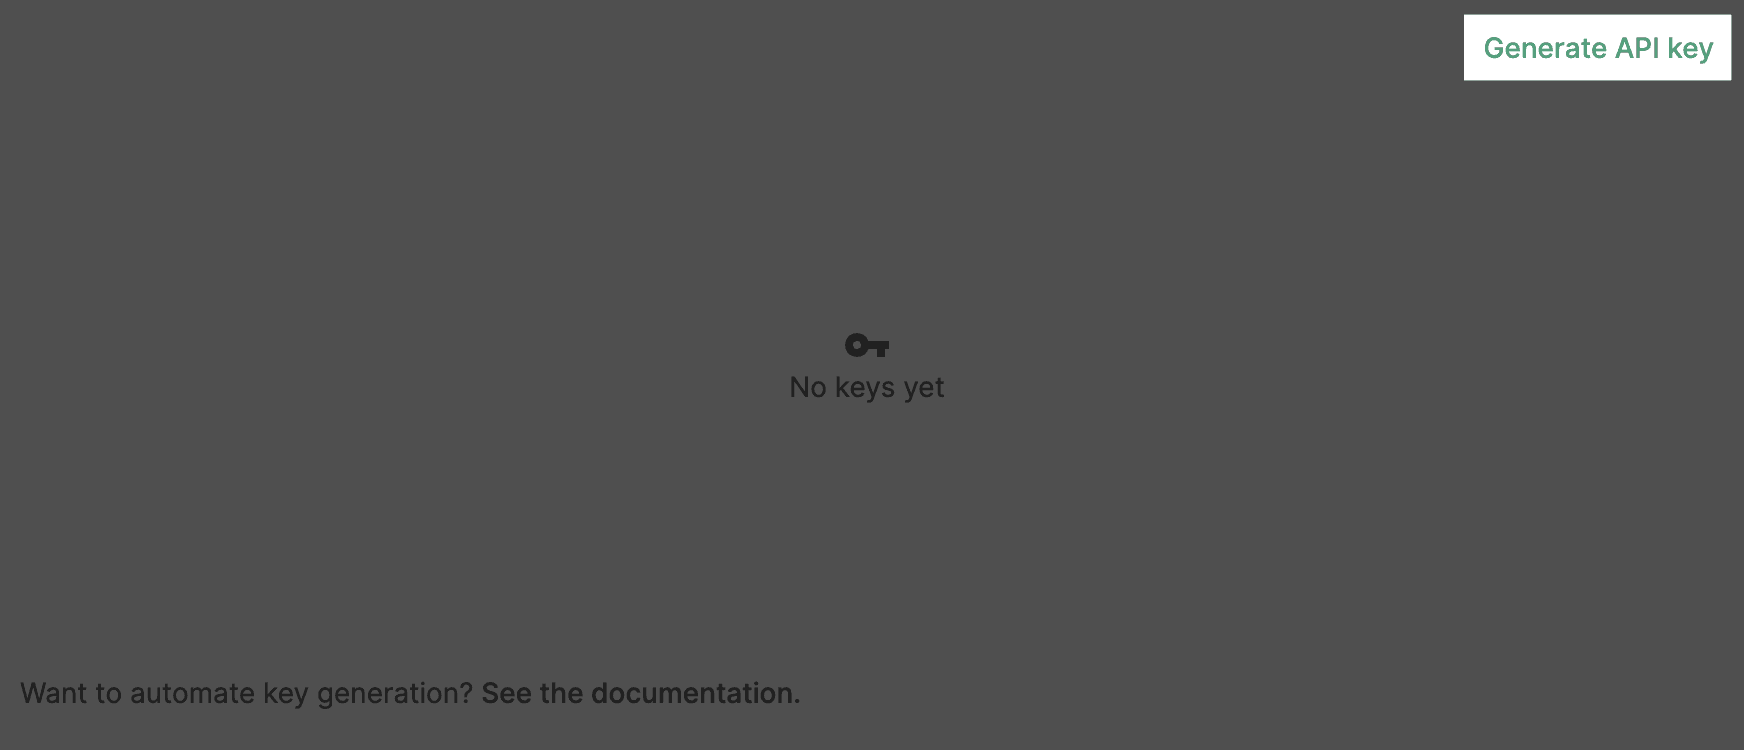
Click on Generate API key.
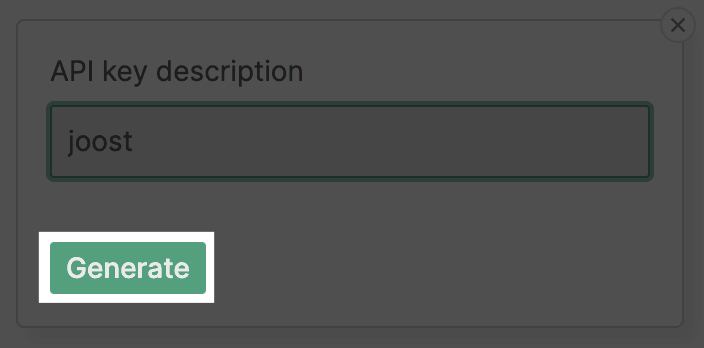
Enter a description for the API key. If you have multiple API keys in your account, you can use the description to tell them apart. Other than that, it doesn’t matter what you fill in. I usually just type my name.
Click on Generate.
Copy the API key and store it somewhere safe.
Click Close.
You need the API key to work with the SDK. It tells the SDK which account to connect to. It’s important you keep the API key safe, because anyone who has your API key can run code that access your account.
Test the Stedi Buckets SDK
Install the Stedi Buckets SDK.
Open
main.js.Remove all code.
Import the Stedi Buckets package.
Create a Stedi Buckets client.
List all buckets in your account.
On the command line, set the environment variable
STEDI_API_KEYto your API key.
Run the code.
This should output the following:
The client allows you to send commands to Stedi Buckets. You must pass it a region, although we only support us right now. You also give it your API key, so it knows which account to connect to. You could paste your API key directly into the code, but then everyone who has access to your code, can see your API key and you should keep it safe.
Instead, this code reads the API key from an environment variable that you set on the command line. This way, the API key is only available to you. If someone else wants to run the code, they need to have their own API key and set it on their command line.
To get a list of all buckets, you call listBuckets(). The functions in the SDK expect all their parameters wrapped in an object. listBuckets() doesn’t have any required parameters, but it still expects an object. That’s why you have to pass in {}.
listBuckets() is an async function, so you have to await it, but you can only use await inside another async function. That’s why the code is wrapped inside the function main().
Since you don’t have any buckets in your account yet, the output is an empty array.
Test the Stedi SFTP SDK
Install the Stedi SFTP SDK.
Remove all code from
main.js.Import the Stedi SFTP package.
Create a Stedi SFTP client.
List all SFTP users in your account.
Run the code.
This should output the following:
As you can see, this works just like the Stedi Buckets SDK. The same notes apply.
Create an SFTP user
Open the Stedi Dashboard.
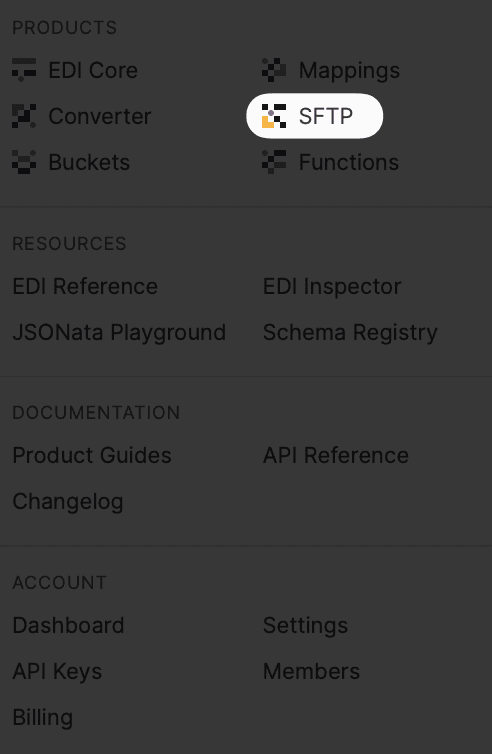
Open the menu on the top left.
Under Products, click on SFTP.
Click on Create User.
Fill in the form with the values you see below.

Click Save.
Copy the connection string and password and store it somewhere safe.
Click Done.
This creates a user that has access to the directory /paper-wrap on the SFTP server.
Paper Wrap is a store that sells edible gift wrapping. They care greatly about preventing paper waste, so they do all their business electronically.
The SFTP server is ready for use, even though you didn’t create a bucket for it. Stedi does this for you automatically.
Find the bucket name
Add the following code at the end of
main().
Run the code.
This should output the following, although your bucket name and username will be different.
It’s convenient that Stedi creates the SFTP bucket for you, but you need the name of the bucket if you want to access it from code. You could get the name from the dashboard, but you didn’t get into programming to copy and paste things from the UI.
When you retrieve information about a user, it includes the bucket name in a field conveniently called bucketName. All SFTP users use the same bucket, so you can get the bucket name from the first user and use it throughout.
Create more SFTP users
In the Stedi Dashboard, click on Create User.
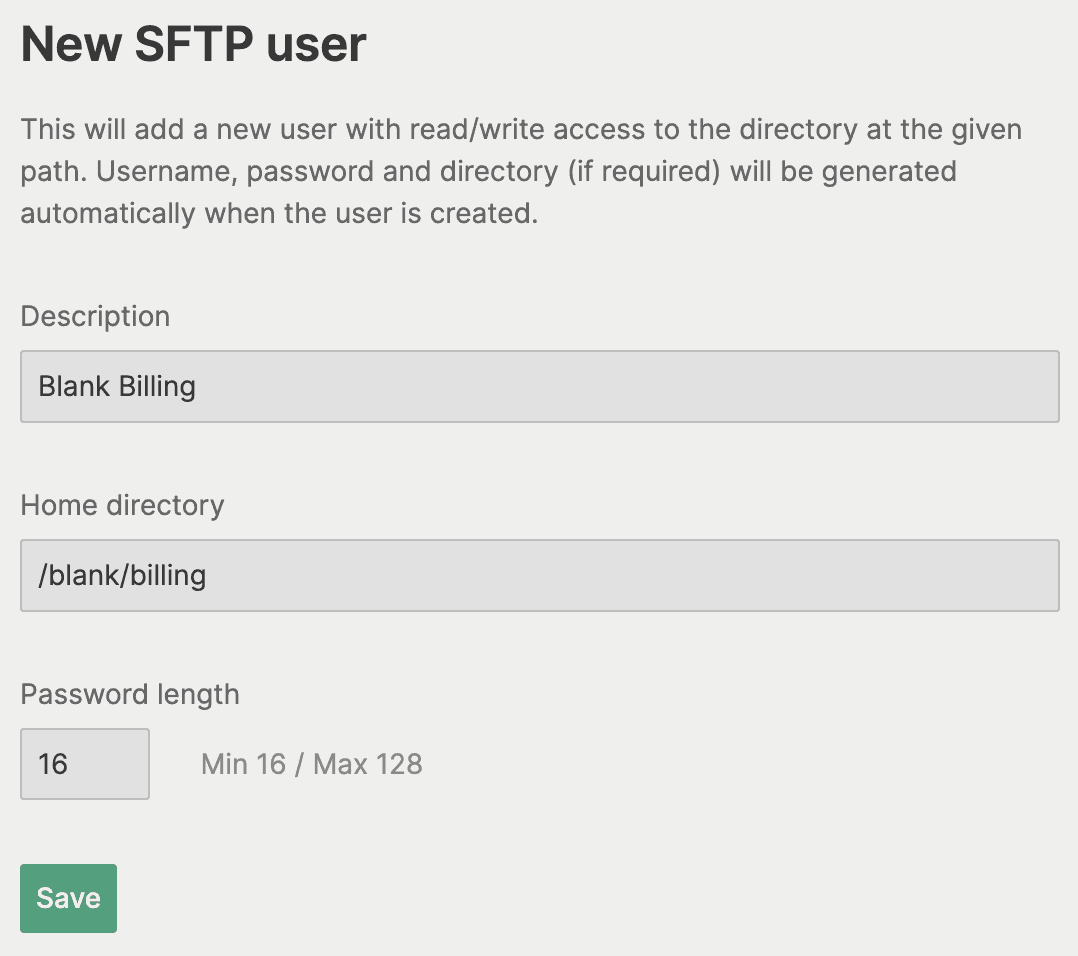
Fill in the form with the values you see below.
Click Save.
Copy the connection string and password and store it somewhere safe.
Click Done.
Click on Create User.
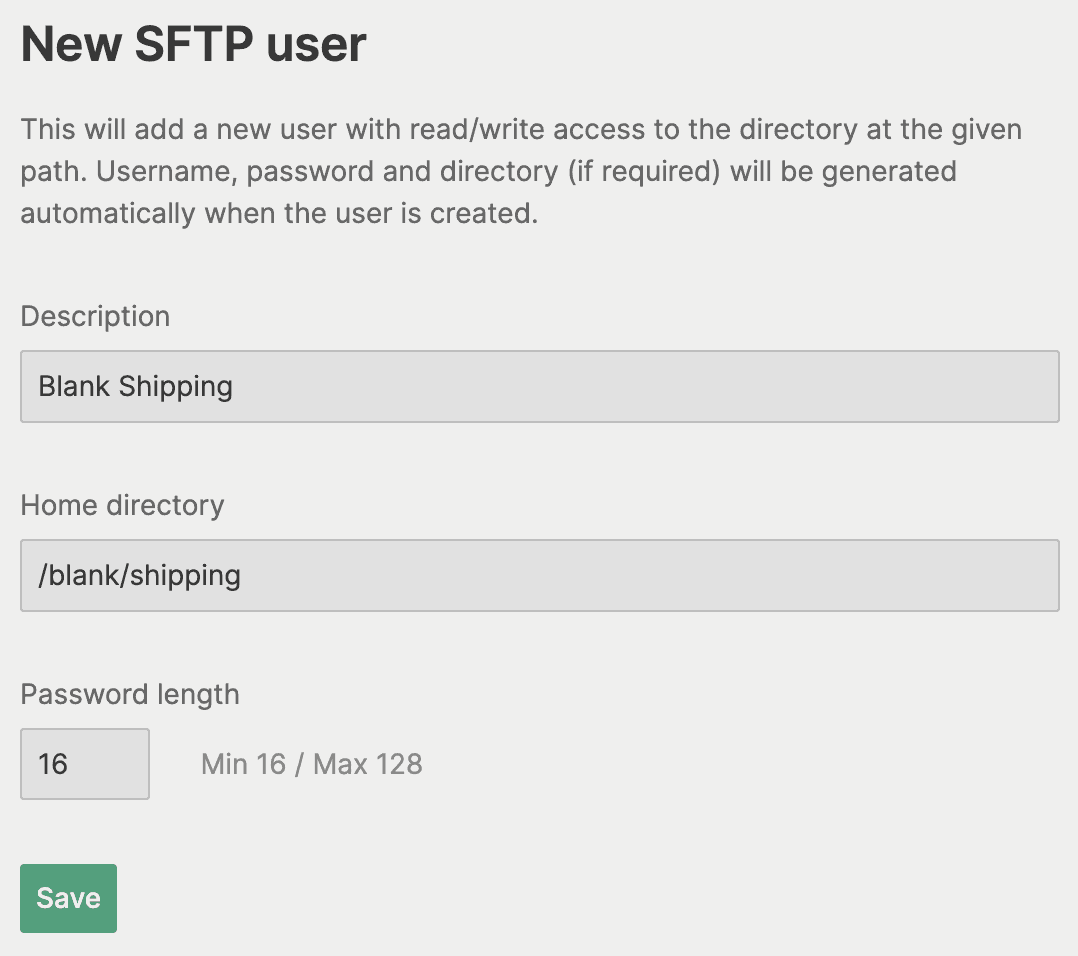
Fill in the form with the values you see below.
Click Save.
Copy the connection string and password and store it somewhere safe.
Click Done.
Click on Create User.
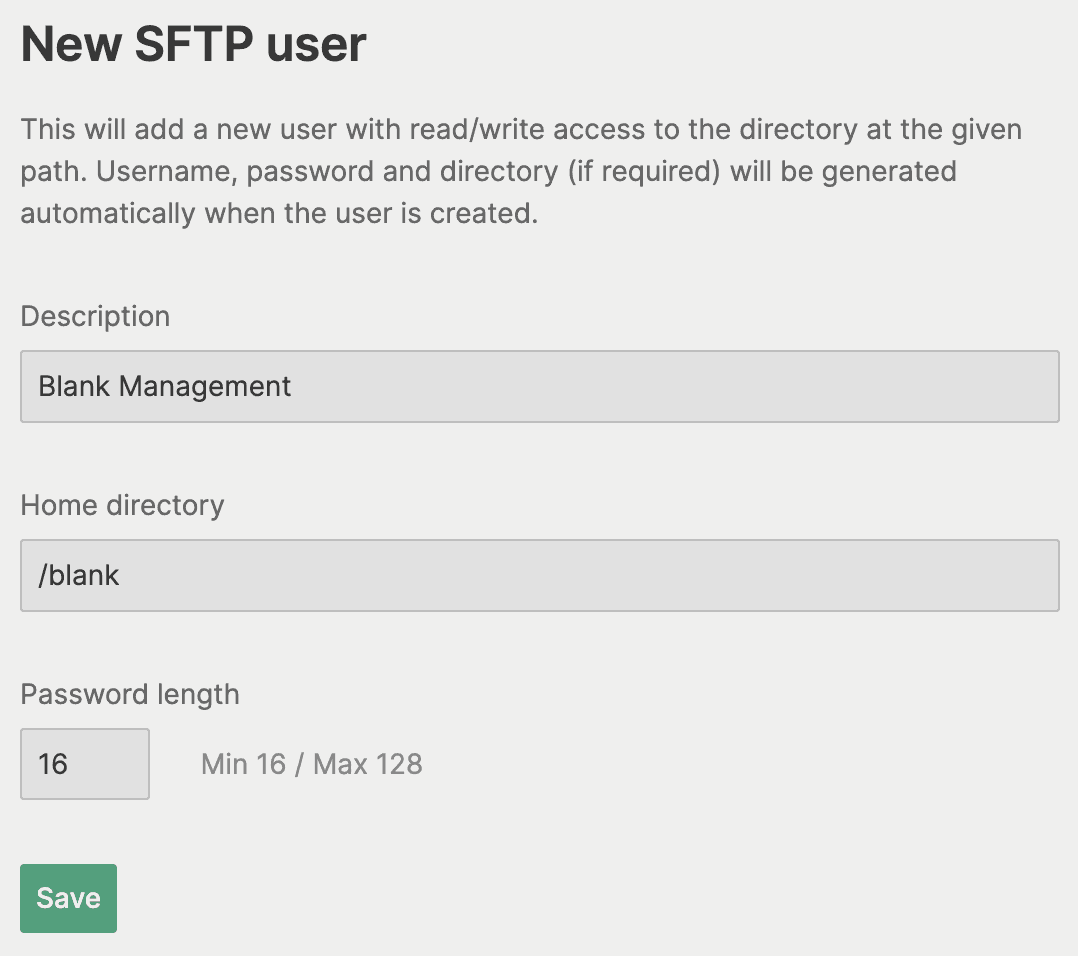
Fill in the form with the values you see below.
Click Save.
Copy the connection string and password and store it somewhere safe.
Click Done.
Blank is a manufacterer of invisible ink. They went fully digital after the court ruled that their paper contracts weren’t legally binding.
Blank has separate departments for billing and shipping and both departments get their own user with their own directory. This way, Shipping can’t accidentally put their ship notices among the invoices. The general manager likes to keep an eye on everything, so he has a user that can see documents from both Shipping and Billing, but can’t access Paper Wrap’s documents.
Create test files
Create a file called
not_edi.txt.Add the following content to
not_edi.txt.
Create a file called
edi.txt.Add the following content to
edi.txt.
If the script is going to count files, you should give it some files to count. The contents don’t really matter, other than that some files should contain EDI. You’ll upload copies of these two files to the SFTP server.
A word about SFTP clients
I’m about to show you how to upload files to the SFTP server and I’m going to do it from the command line. I think that’s convenient since I’m doing a lot of things on the command line already, but it’s not the only way. If you prefer dragging and dropping your files, you can install an FTP client like FileZilla. You won’t be able to follow the instructions in the next paragraph step by step, but it shouldn’t be too hard to adapt them. Here are some pointers.
You can find the username and host on the Stedi Dashboard.
Host and SFTP endpoint are the same thing.
If you need to specify a port, use
22.Call the files on the SFTP server whatever you like; it doesn’t matter to the code.
The exact number of files you upload doesn’t matter; just gives every user a couple of files.
Upload test files
On the command line, make sure you’re in the directory that contains the files
edi.txtandnot-edi.txt.Connect to the SFTP server with the connection string from the Paper Wrap user. Your connection string will look a little different than the one in example.
Enter the password for the Paper Wrap user.
Upload a couple of files.
Disconnect from the SFTP server.
Connect to the SFTP server with the connection string from the Blank Billing user.
Enter the password for the Blank Billing user.
Upload a couple of files.
Disconnect from the SFTP server
Connect to the SFTP server with the connection string from the Blank Shipping user.
Enter the password for the Blank Shipping user.
Upload a couple of files.
Disconnect from the SFTP server.
Connect to the SFTP server with the connection string from the Blank Management user.
Enter the password for the Blank Management user.
Upload a couple of files.
List all files
Create a Stedi Buckets client. Add the following code at the top of
main.js.
Get a list of files from the SFTP server. Add the following code to the end of
main().
Run the code.
This should output the following:
You can’t get files per user, because Stedi Buckets doesn’t know anything about users. You also can’t get files per directory, because technically Stedi Buckets doesn’t have directories. That’s a topic for another time, though.
You can list all the files. The result from listObjects() contains an array called items with information on each file. If there are no files on the SFTP server, items will be undefined. For our code, it’s more convenient to have an empty array if there are no files, hence the expression listObjectsResult.items || [].
If you take a close look at the output—and you’ve been following this walkthrough to the letter—you’ll discover that it doesn’t contain every single file. listObjects() only return the first 25. To get the rest as well, you’ll need paging.
Paging through files
Page through the files on the SFTP server. Replace the code from the previous paragraph with the following.
Run the code.
This should output the following:
When there are more results to fetch, listObjects() will add the field nextPageToken to its result. If you then call listObjects() again, passing in the page token, you will get the next page of results. The first time you call listObjects(), you won’t have a page token yet, so you can pass in undefined to get the first page.
You can use concat() to put the files of each page into a single array.
Paging through users
Replace the line
let pageToken = undefined;with the following.
Page through all SFTP users. Replace the code that lists users, at the beginning of
main(), with the following.
There are only four users, so for this challenge, paging through the users won’t make a difference, but it makes the scripts more robust. It works just like paging through files.
Counting files
For every user, loop through all files and count the ones that are in their home directory. Add the following code to the end of
main().
Run the code.
This should output the following:
Every file has a field called key, which contains the full path, for example blank/billing/thank-you. If the start of the key is the same as the user’s home directory, then the user owns the file. The only problem is that the home directory has a / at the start and the key doesn’t. user.homeDirectory.substring(1) strips the / from the home directory.
Detecting EDI
Import the stream consumer package. Add the following code at the top of
main.js.
Download each file from the SFTP server. Add the following code right below
fileCount++.
Add a counter for EDI files. Add the following code right below
let fileCount = 0.
Determine if the file contents is EDI. Add the following right below the previous code.
Output the result. Replace the last line that calls
console.info()with the following code.
This should output the following:
When you call getObject() the result includes a stream that allows you to download the contents of the file. The easiest way to do this, is using consumer.text() from Node.js’s stream consumer package.
To detect if a document is EDI, you can check if it starts with the letters ISA. It’s easy to do and I expect it covers at least 99% of cases, so I call that good enough.
Challenge completed
Share
Automate healthcare transactions with developer-friendly APIs that support thousands of payers. Contact us to learn more and speak to the team.
